
Last updated November 21, 2026
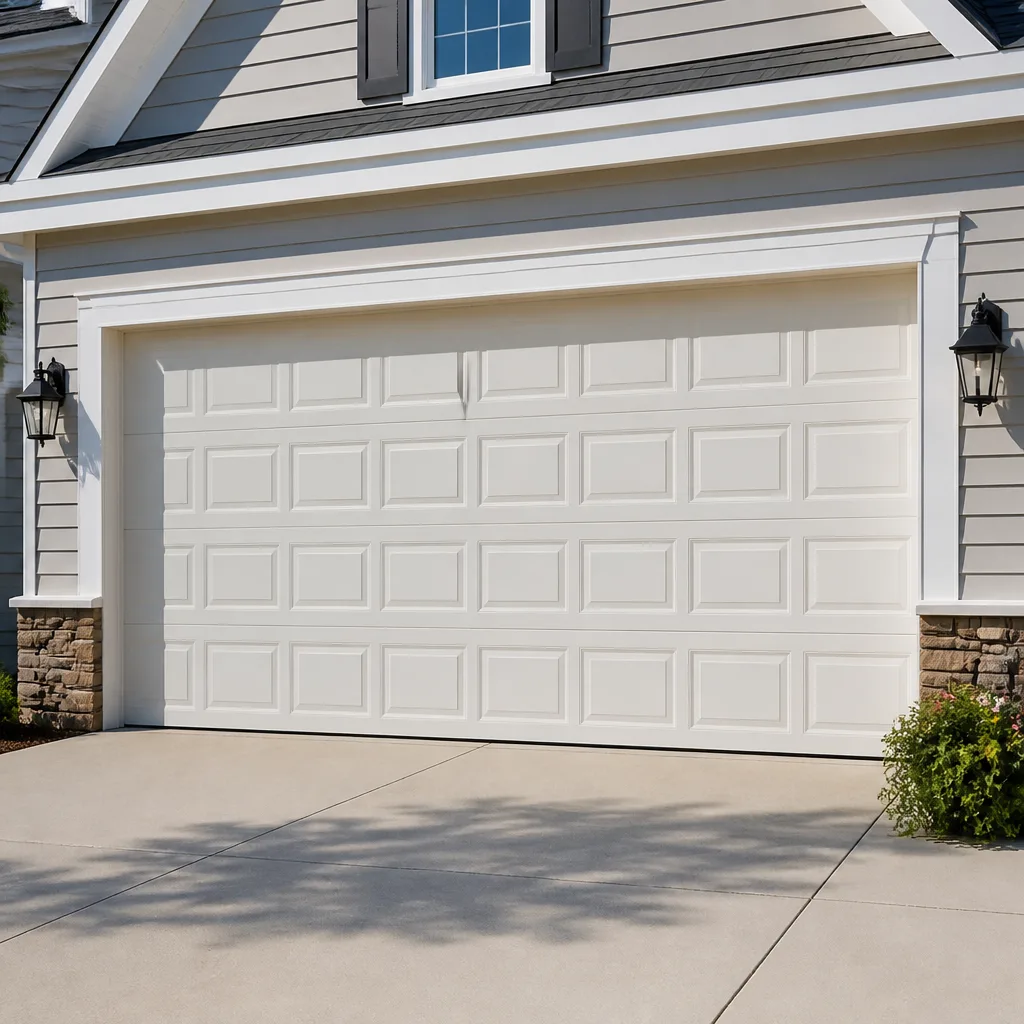 Raised-panel steel
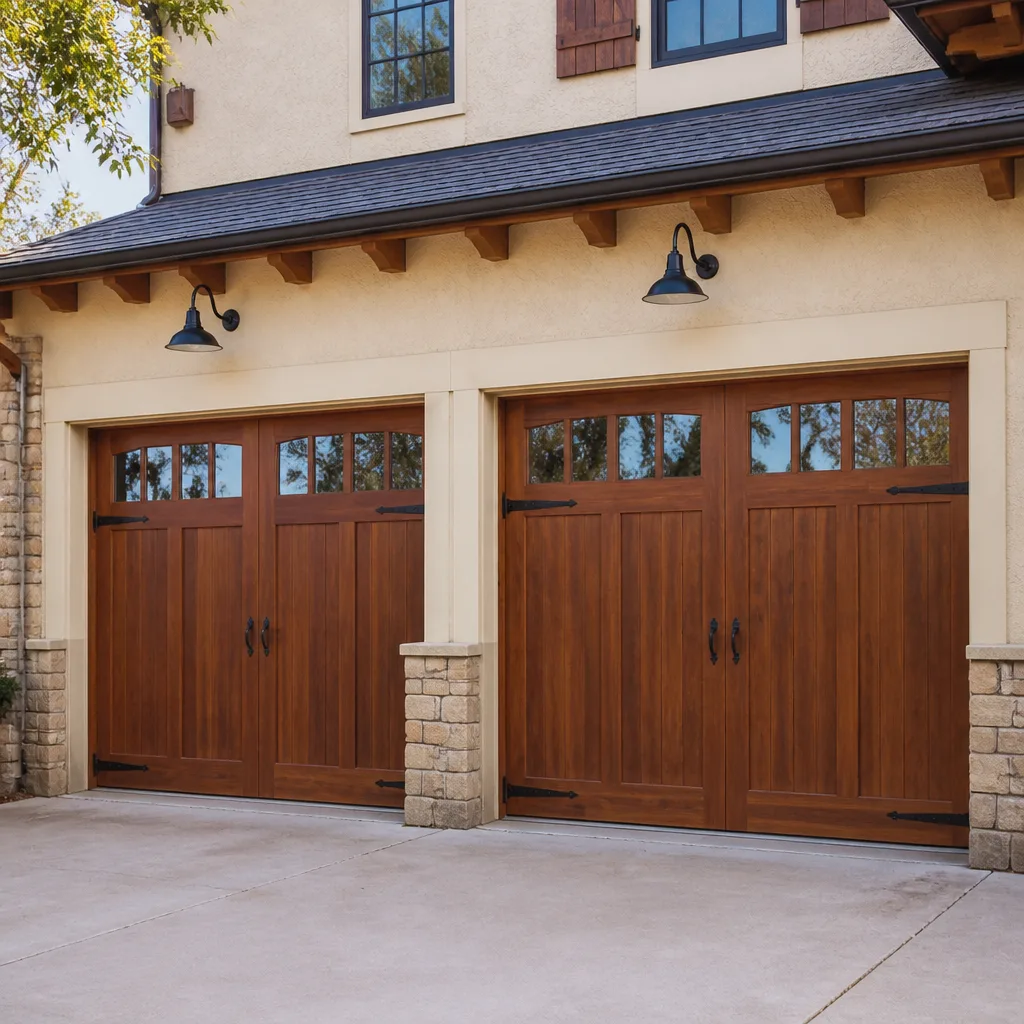 Carriage house
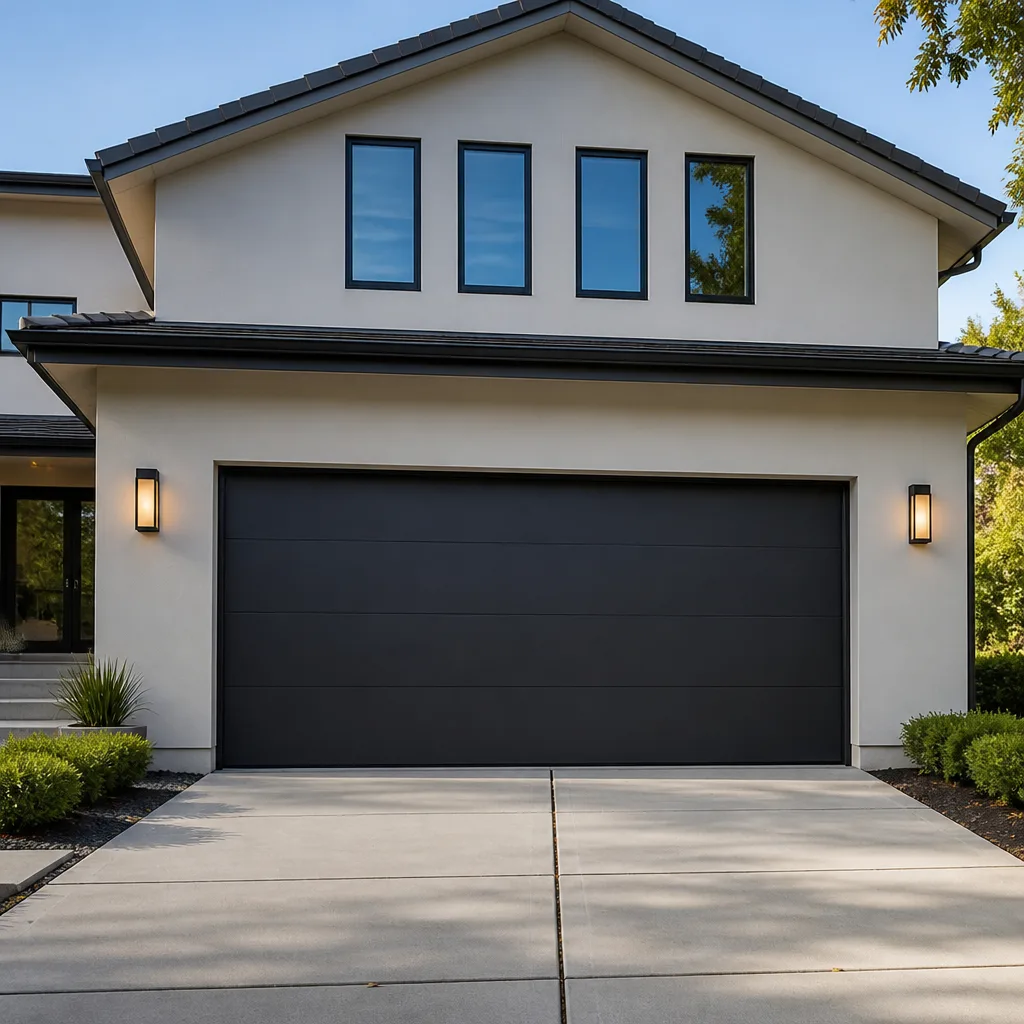 Modern flush
 Full-view glass
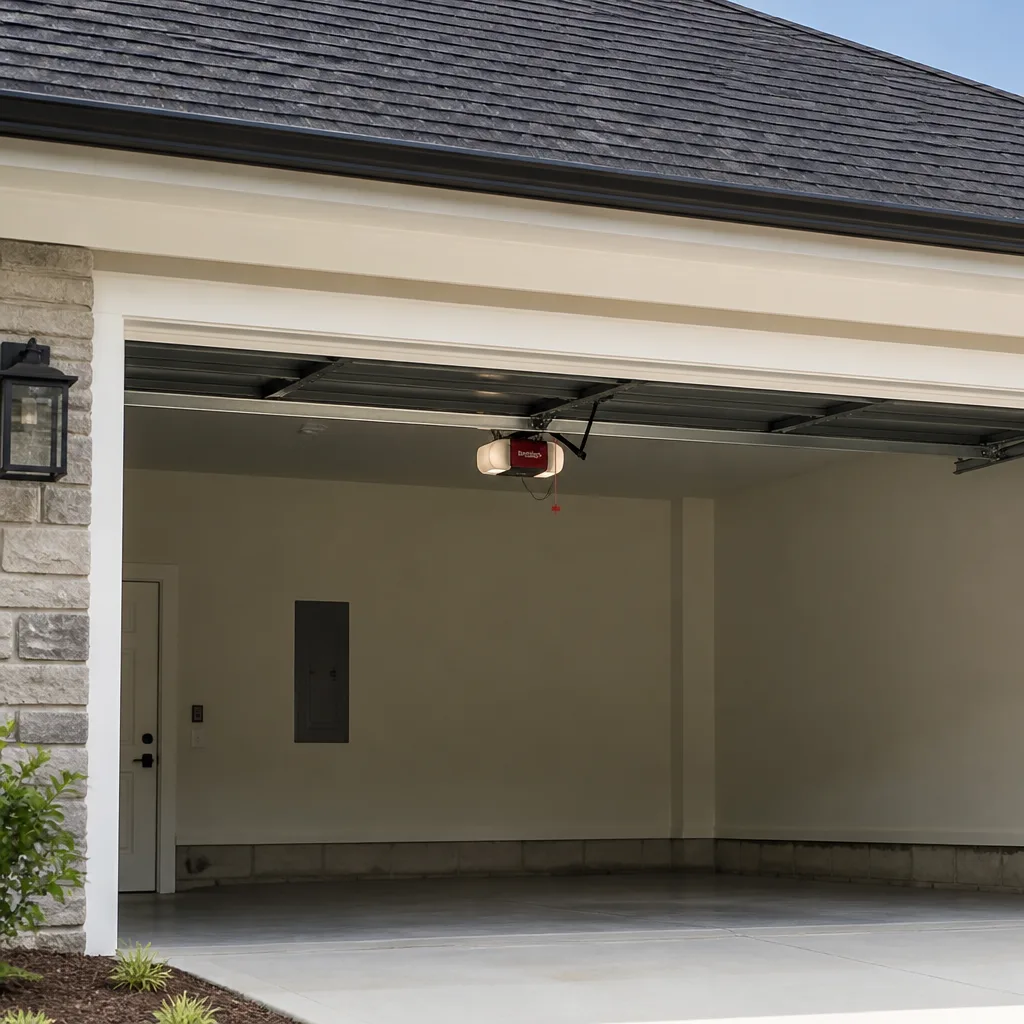 LiftMaster openers
 Chamberlain openers
Full 25-point door and opener safety check with every visit - springs, cables, rollers, tracks, and your LiftMaster or Chamberlain opener included
You get a price before we start. It does not change when the pro arrives.
Get your free estimateGarage Door Repair Maintenance Checklist for Buckhead Homeowners
Most emergency garage door calls we get in Buckhead don’t start with a bang. They start with a small thing the homeowner walked past a dozen times: a frayed cable strand, a roller that’s stopped turning, a bottom seal that’s gone soft. The door still worked, so it never felt urgent. Then one morning it came down hard, or stopped halfway, or wouldn’t budge at all.
That’s the problem with most maintenance checklists. They tell you what to look at but not what a problem actually looks like, or which items matter more than others, or when to check them. This guide fixes that. You’ll get a prioritized sequence, the specific wear signs to watch for in Atlanta’s heat and humidity, and a seasonal calendar built around how garages actually behave in Buckhead.
Quick Answer
A practical garage door maintenance checklist for Buckhead homeowners starts with safety before anything else: test the auto-reverse and photo-eye system monthly, inspect springs and cables for wear every three months, lubricate moving parts twice a year, and check the balance of the door seasonally. In Buckhead’s humid, hot climate, cables and bottom seals age faster than in drier regions, so inspections should focus there first. Any sign of a frayed cable, a snapped spring, or a door that won’t reverse on contact means stop using the door and call a specialist.
Styles & brands we work with
- Raised-panel steel
- Carriage house
- Modern flush
- Full-view glass
- LiftMaster openers
- Chamberlain openers
Table of Contents
- The Priority Sequence: What to Check First, Second, and Last
- Monthly Safety Tests: Auto-Reverse and Photo-Eye
- Springs and Cables: Reading the Wear Signs
- Rollers, Hinges, and Bottom Seals in Georgia Humidity
- Lubrication: What to Use and What to Avoid
- A Buckhead Seasonal Maintenance Calendar
- Opener Care: Brand-Specific Notes
- What You Can Do Yourself and What You Can’t
The Priority Sequence: What to Check First, Second, and Last
Alphabetical checklists are useless because they don’t tell you what actually matters. This one is ranked. Items at the top can injure someone or let the door fall. Items at the bottom are cosmetic. Work down the list in order and you’ll never skip the part that matters.
- Auto-reverse and photo-eye safety systems. These are the only things standing between a closing door and a child, pet, or car. Test them every month. If either fails, stop using the door until it’s fixed.
- Springs. Torsion and extension springs carry the door’s full weight. A worn or snapped spring is a serious hazard and should only be handled by a trained technician.
- Cables. Cables hold tension against the springs. A frayed or kinked cable is one strand away from failure. Inspect monthly during humid months.
- Door balance. A door that’s out of balance puts extra load on the opener and stresses every other component. Test it every few months.
- Rollers and hinges. Worn rollers cause noise, uneven travel, and premature opener wear. Look at them every three months.
- Bottom seal and weatherstripping. A degraded seal lets in water, pests, and heat. Check seasonally and replace when it starts to crack or harden.
- Track alignment and hardware. Loose bolts, bent tracks, and missing fasteners are easy to catch visually. Scan the whole assembly every few months.
- Paint, panels, and appearance. Handle cosmetic concerns last. They matter, but they don’t hurt anyone.
This sequence is what separates a real maintenance routine from a box-ticking exercise. It’s also what our technicians use when they walk a door. If you’re looking for a repair rather than a check-up, our garage door repair team can diagnose the problem in a single visit.
Monthly Safety Tests: Auto-Reverse and Photo-Eye
The auto-reverse system is the door’s most important safety feature, and it’s also the one most homeowners never test. Here’s how to check it without any special tools. The UL 325 standard requires that a closing door reverses on contact with a 2-inch object placed flat on the ground beneath it. You don’t need a measuring device to confirm this – a piece of 2×4 lumber works fine.
Testing Auto-Reverse Force
- Open the door fully, then stand clear of the path.
- Place a 1.5 to 2-inch object (a scrap of wood, a rolled magazine, a brick on its side) on the ground directly under the middle of the door.
- Press the wall button to close the door.
- Watch what happens. The door must reverse and return to the open position as soon as it contacts the object. If it simply stops, or pushes down on the object before opening, the force setting is too high.
- Repeat the test once. If the door fails twice, use the manual release and call a technician.
Testing Photo-Eye Alignment
The photo-eye is the pair of small sensors near the floor on each side of the door. When the invisible beam between them is broken, the door should reverse. To test it, close the door and watch it start moving, then wave a hand or a broom handle in front of one sensor. The door should reverse immediately. If it doesn’t, check for one of three common causes: a sensor knocked out of alignment, a lens covered with dirt or cobwebs, or a wiring fault. A small LED on each sensor usually confirms it has power and a clear line of sight. If either LED is off or blinking when the door is idle, that sensor isn’t happy.
If you’re already dealing with a door that won’t reverse or keeps stopping, our garage door opener repair team can look at the sensors, wiring, and opener logic together. Safety systems are not the place to guess.
Springs and Cables: Reading the Wear Signs
Springs and cables are the parts of your door under the most load, and the parts most often misunderstood. Torsion springs sit horizontally above the door on a steel shaft. Extension springs run alongside the tracks on either side. Both do the same thing: they carry the door’s weight so the opener only has to nudge it. When they fail, they fail loudly and without warning.
What Normal Looks Like
On a healthy torsion spring, the coils are evenly spaced with no gaps at rest. The color on the coil (often a painted stripe indicating wire size) is intact. The spring should hold tension smoothly and quietly; a door that thumps or pops as it moves is telling you something. On cables, the strands should wind tightly together with no loose ends, kinks, or rust. A slight sheen of lubricant is fine. Dirt or black residue is not.
What Imminent Failure Looks Like
- A gap of more than an inch in the middle of a torsion spring, or a spring that’s visibly lost its round shape.
- Any broken strand on a cable. A single frayed wire means the cable is on its way out.
- A cable that hangs slack, sits off the drum, or rubs against the side of the track.
- Rust that has eaten into the cable or the spring coil. In Buckhead’s humid summers, this happens faster than most homeowners expect.
- A door that feels heavy when you lift it manually (with the opener released), or that slams down if you let go.
Spring and cable work is genuinely dangerous. High-tension torsion springs store enough energy to break bones, and cables under load can whip unpredictably when cut or released. We don’t provide step-by-step instructions for this kind of repair because no homeowner should attempt it. If you see any of the signs above, keep the door closed, use the manual release only if you can do so safely, and call a trained technician. Spring repair done safely, done right is a specialty for a reason. Our technicians have up to 12 years of experience with high-tension components.
Rollers, Hinges, and Bottom Seals in Georgia Humidity
Buckhead’s climate is hard on garage door hardware in specific ways. Summer humidity sits high for months, and garages here often run hotter and more humid than the rest of the house because they’re poorly ventilated. That combination accelerates wear on anything that rubs, seals, or absorbs moisture. Knowing how each part ages helps you spot a problem before it turns into a repair.
Rollers
Nylon rollers typically last longer and run quieter than steel. Both types develop flat spots over time, especially if the door sits in the same position for long stretches. A worn roller makes a rattle or a grinding sound as the door moves. Inspect each roller every three months; if it wobbles on its stem, has a visible flat spot, or feels rough when you spin it by hand, it’s time to replace the set.
Hinges
Hinges on a sectional door take a beating. Look for loose screws, bent hinge plates, or wear marks where the roller stem sits in the hinge. In humid months, cheap steel hinges can rust and seize, which puts extra load on the opener. A quick visual pass every three months catches most of this.
Bottom Seal
The bottom seal is the rubber strip along the ground. In a humid climate it goes through more stress than people realize: it stays damp against concrete, softens, and eventually cracks or tears. A compromised seal lets in water, insects, and hot air, and it affects how well the door seals against the floor. Check it by running a hand along the bottom edge every few months. If the rubber feels sticky, has visible cracks, or has lost its flexibility, replace it. Neoprene seals generally handle heat and humidity better than cheap vinyl.
Lubrication: What to Use and What to Avoid
The single most common lubrication mistake is using the wrong product on the wrong part. That’s a bigger deal in Georgia, where heat and humidity turn a slightly-off product choice into a sticky mess or a degraded seal over one summer.
What to Use
- White lithium grease or a silicone-based garage door lubricant on hinges, roller stems, and the torsion spring coils (a light coat only).
- Silicone spray on the bottom seal and weatherstripping. Silicone keeps rubber flexible without attracting grit.
- White lithium grease on the opener’s chain or screw drive, using the product your specific opener calls for. LiftMaster, Chamberlain, and Craftsman openers mostly use a chain or belt drive; check the manual for the recommended lube.
What to Avoid
- Petroleum-based products or general-purpose WD-40 on seals or rollers. These degrade neoprene and other rubber compounds over time, causing them to swell, harden, or crack. That’s the wrong way around: the part you’re trying to protect is the part that gets damaged.
- Heavy grease on the tracks. It collects dust and grit, which then acts like sandpaper on the rollers.
- Too much of anything. A thick coat of any lubricant attracts dirt. Light coats, applied twice a year, are enough.
Lubricate in late spring, before the heaviest humidity sets in, and again in early fall. Both windows matter here because each one covers the transition into a tougher season for the hardware.
A Buckhead Seasonal Maintenance Calendar
Generic maintenance guides tell you to check your door “in spring and fall.” That’s calendar advice, not climate advice. In Buckhead, the triggers are different. Here’s how to tie your checks to what’s actually happening with the weather and the door.
Late Spring (Before the Humid Months)
- Full lubrication pass on hinges, rollers, and spring coils.
- Inspect the bottom seal for early signs of softening.
- Test the auto-reverse and photo-eye one extra time.
- Wash the door and look for any rust spots starting to form.
Midsummer (Humidity Peak)
- Check cables monthly. Heat and humidity accelerate corrosion on steel strands.
- Listen for new noises. Straining rollers and hinges are loudest in the heat.
- Look at the door panels for any warping, especially on wood or composite doors.
Early Fall (Before Cooler Weather)
- Full lubrication pass again.
- Test the door balance. Colder weather makes a worn spring quieter, which can mask a problem.
- Check the weatherstripping around the frame for drafts.
- Inspect the opener’s drive belt or chain for slack.
Winter and Early Spring
- Test all safety systems.
- Inspect the track for debris, dead leaves, and any looseness in the brackets.
- Look for any cracking in the bottom seal that opened up over the cold stretch.
- Check hinges for rust and loose screws.
If you can’t remember when you last serviced anything, start with the safety tests, then work down the priority sequence above. You don’t need to do it all in one weekend. You just need to start at the top.
Opener Care: Brand-Specific Notes
Openers are not interchangeable, and neither are their maintenance needs. We service equipment from LiftMaster, Chamberlain, Genie, Clopay, Amarr, Wayne Dalton, Craftsman, and Raynor, and knowing the specific unit saves time and reduces the chance of a wrong-part guess.
LiftMaster and Chamberlain openers share a lot of internal design, and both are sensitive to proper force calibration. If you’ve adjusted the force up to compensate for a struggling door, that’s the opposite of what you want. The door is the problem, and the opener is trying to tell you. On Craftsman and Genie units, the drive gear and belt or chain are the most common wear points, and the failure often shows up as a loud grinding rather than a complete stop. Raynor openers are usually reliable but benefit from a check of the door’s balance, because an off-balance door wears out any opener quickly.
Whichever brand you have, three rules apply:
- Never increase force settings to fix a slow or heavy door. Fix the door first. The force setting is a safety limit, not a performance dial.
- Keep the opener’s rail or belt clean and lightly lubricated. Don’t overdo it.
- If the door no longer reverses on contact, stop using the opener until the problem is corrected. The sensors, the force setting, and the opener logic all have to be right.
If your opener is on its way out and you’re weighing repair against replacement, our garage door opener repair team can tell you honestly which one makes sense for your door.
What You Can Do Yourself and What You Can’t
Homeowners can do real maintenance. They can’t safely do spring or cable work, and they shouldn’t try. Here’s the split.
Safe for DIY
- Testing the auto-reverse and photo-eye systems.
- Lubricating hinges, roller stems, springs, and seals with the right products.
- Visual inspection of rollers, hinges, cables, and the bottom seal.
- Gently clearing debris from the track with a soft brush (never lubricant).
- Washing and wiping the door panels.
- Replacing the bottom seal when it’s clearly worn.
Not Safe for DIY
- Any work on torsion or extension springs, including adjustment, replacement, or unwinding.
- Cutting, tightening, or replacing cables.
- Adjusting the door’s overall balance or track alignment in a way that changes tension.
- Replacing hinges attached to springs or load-bearing hardware.
- Electrical work on the opener beyond changing batteries in the remote.
- Resetting force limits on the opener to compensate for a heavier-feeling door.
This isn’t a case of “you could if you had the tools.” High-tension springs and cables can kill or seriously injure someone who’s done everything right except touch the wrong component at the wrong time. If you’re unsure which side of the line you’re on, assume it’s the professional side.
Common Mistakes to Avoid
- Skipping the safety tests because the door “seems fine.” A door that opens and closes normally can still fail the auto-reverse test. Test it monthly anyway; the check takes two minutes and it’s the one that protects your family.
- Lubricating everything with the same product. White lithium on rollers, white lithium on the seal, white lithium on the tracks – that’s three mistakes in one. Use silicone on rubber and keep grease off the tracks entirely.
- Turning up the opener’s force setting instead of fixing the door. In Buckhead humidity, a stiff door is often a sign of cable or roller wear. Increasing force makes the opener work harder and hides a problem you’ll still have to fix.
- Ignoring the bottom seal until it’s shredded. A cracked seal in a humid climate lets in water, and water at the bottom of the door leads to rust and panel swelling.
- Assuming a broken cable will “hang on for a while.” It won’t. A frayed cable is one strand from failure, and the moment it lets go is often when the door is halfway down.
- Doing spring work as a DIY project because a video made it look simple. No video shows what it feels like when a torsion spring unloads. This is the one job that belongs with a specialist.
- Skipping maintenance in the dry months and expecting the door to handle humid ones. A little lubrication and inspection in late spring does more than a full overhaul in August.
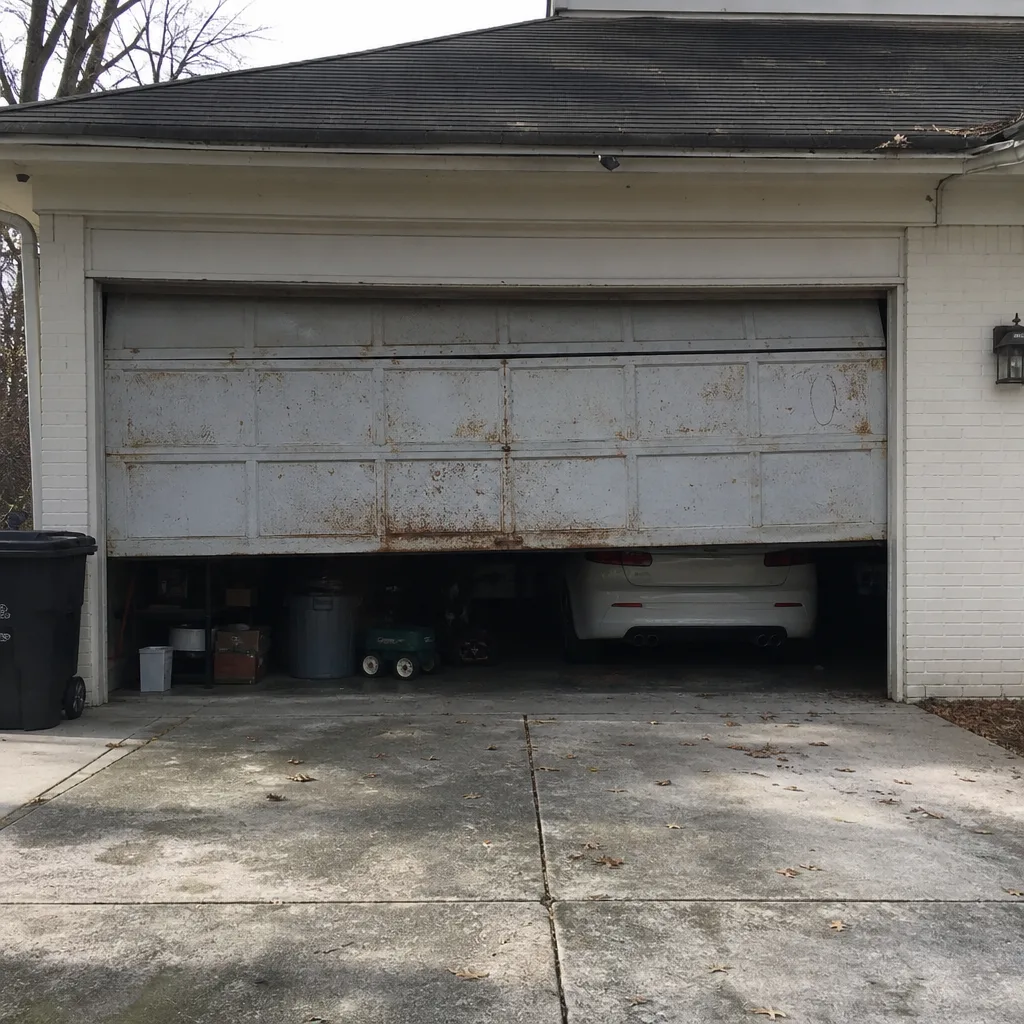
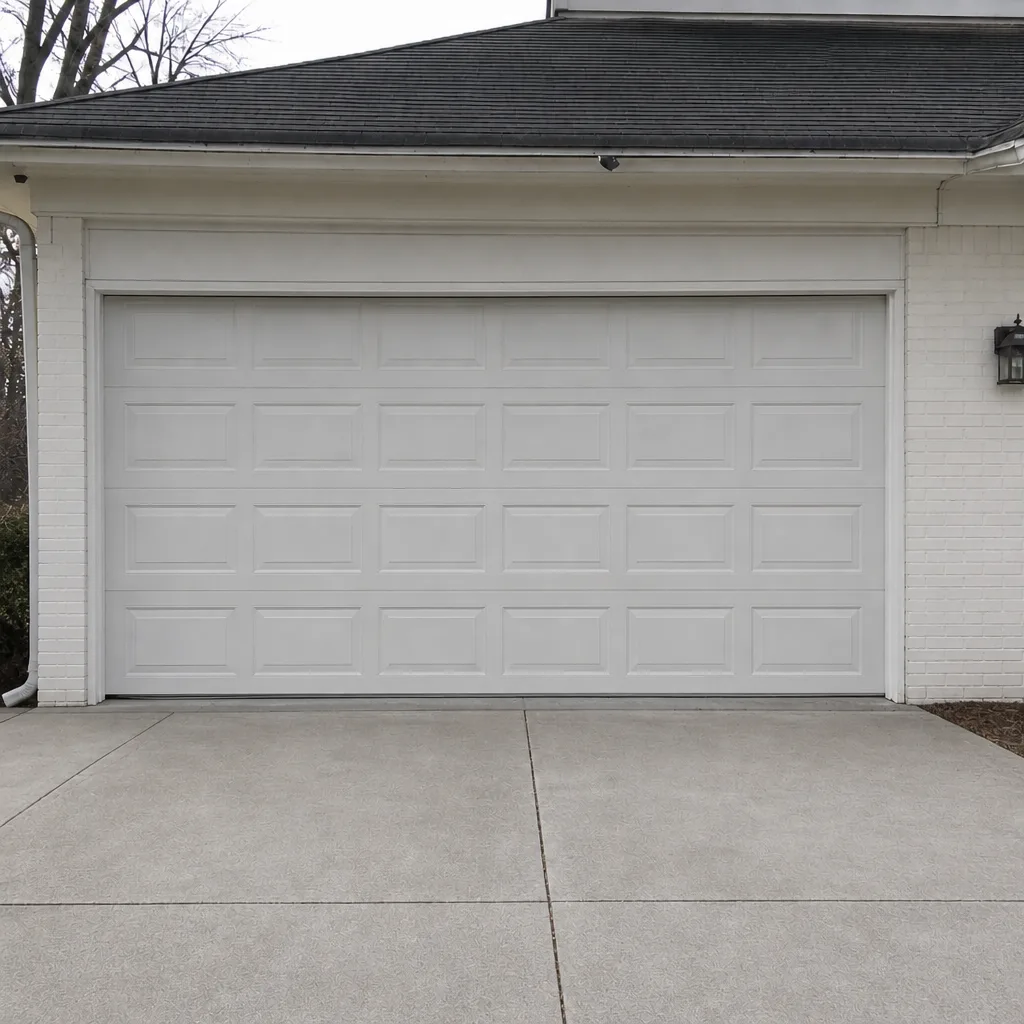
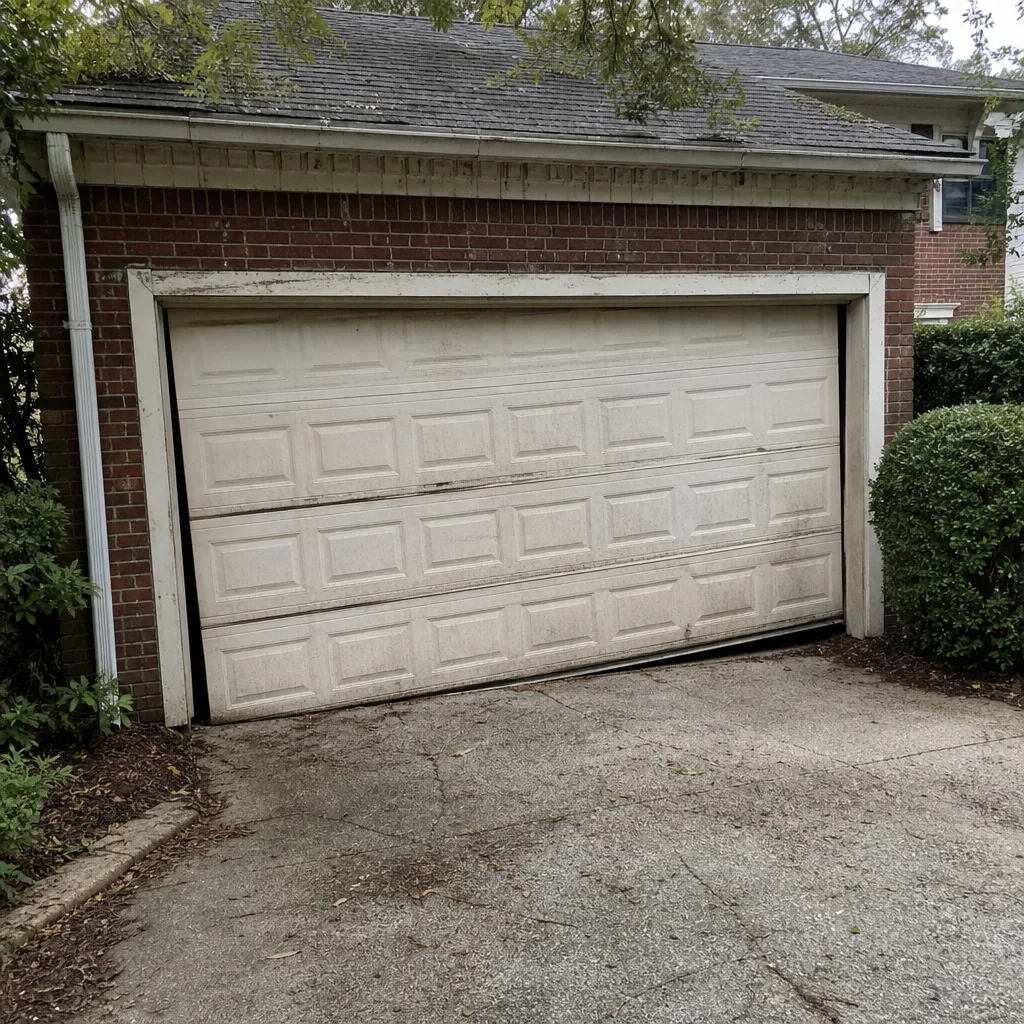
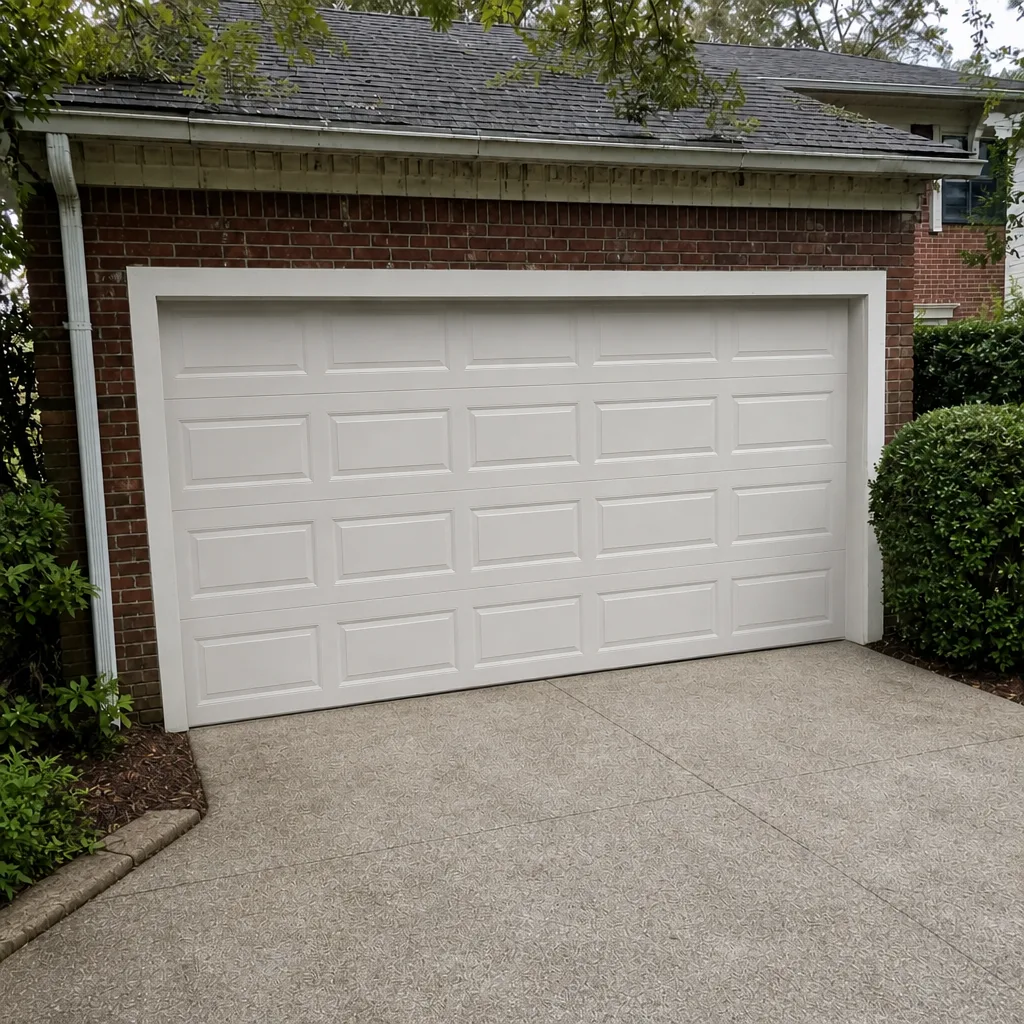
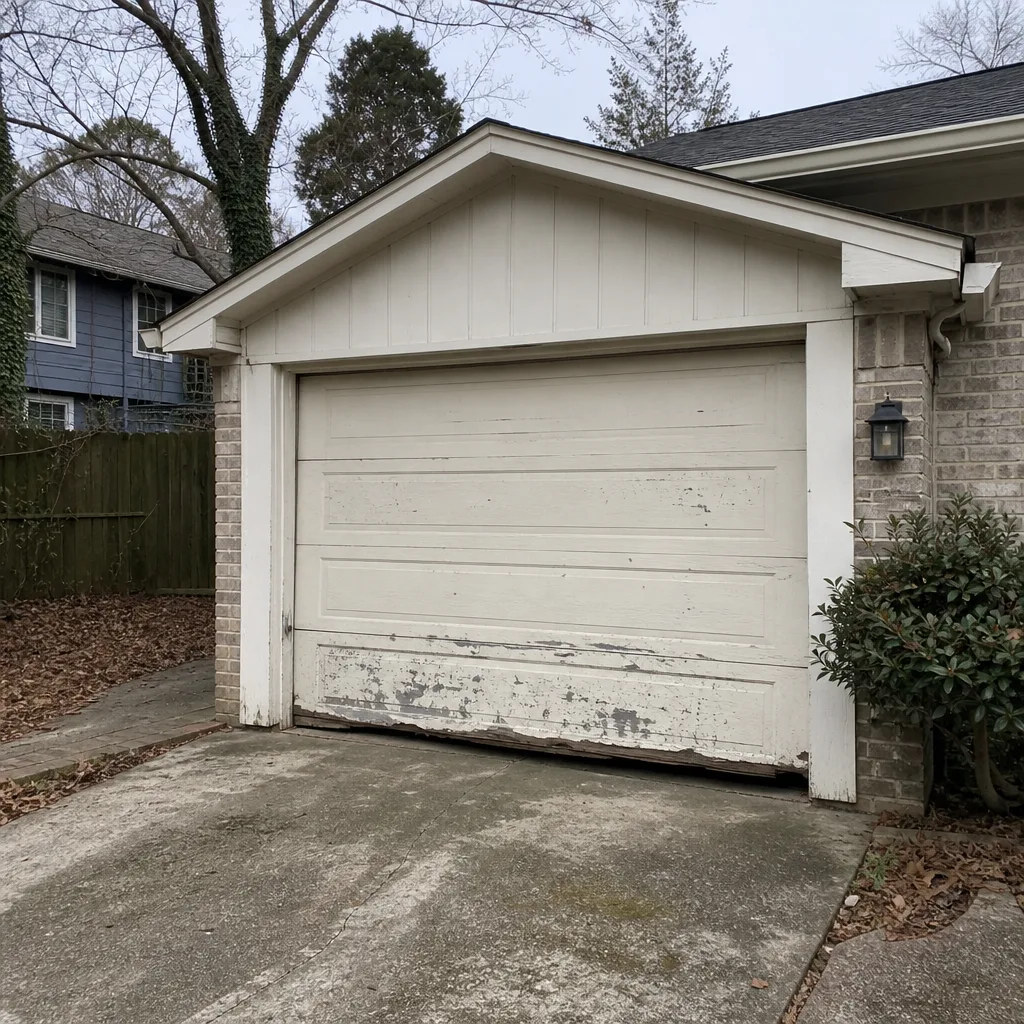
See the difference
 Before
 After
 Before
 After
 Before
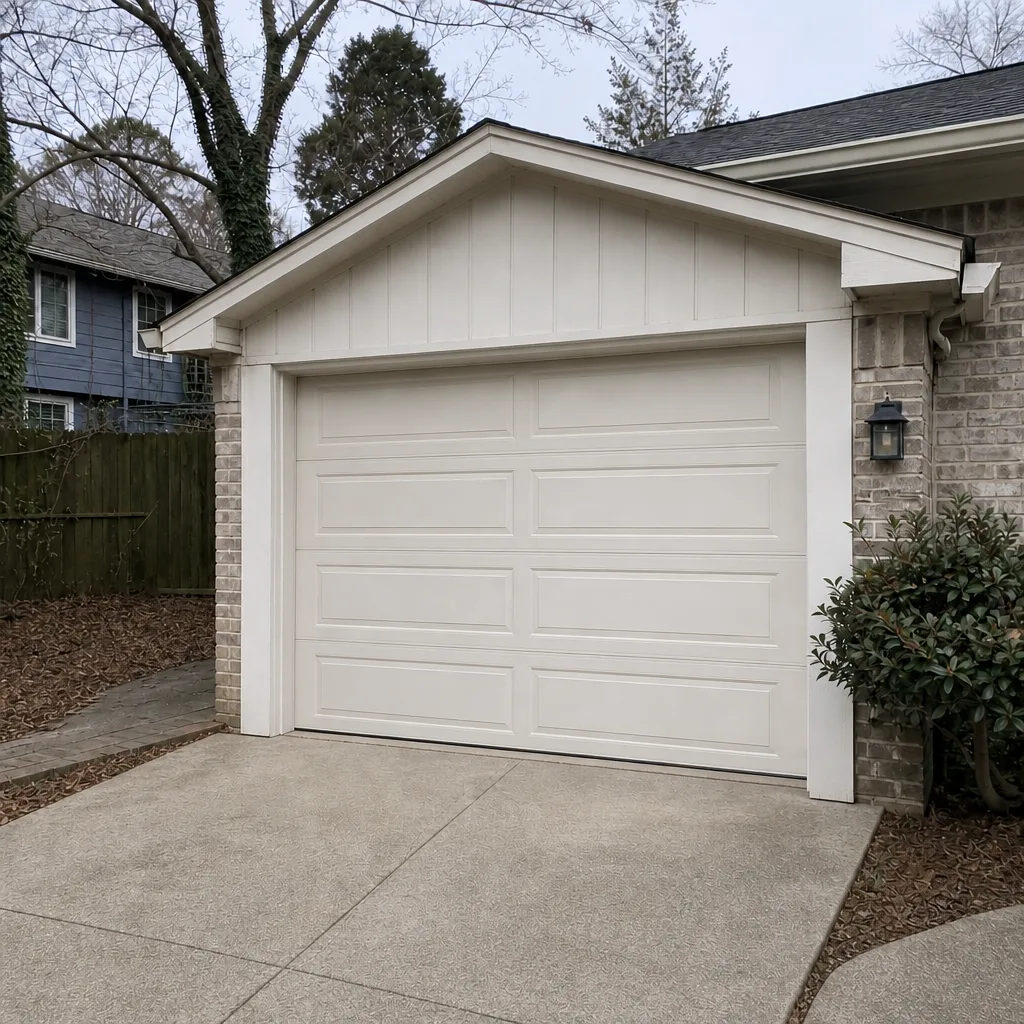 After
When to Call a Professional
Some items on this checklist are genuinely DIY. Others aren’t. Call a specialist when you find any of the following:
- Any broken or frayed cable.
- A snapped spring, or a spring with a visible gap or lost shape.
- A door that won’t hold itself up when you release the opener.
- The auto-reverse or photo-eye test fails twice in a row.
- The door comes off the track, runs crooked, or makes grinding noises.
- An opener that reverses on its own, clicks without moving, or won’t respond to the remote.
If your door won’t move at all or is stuck open, that’s an emergency, and it deserves the same specialist response, not a general handyman. Buckhead Garage Door Repair Pros offers free estimates in Buckhead – call (866) 651-6880. We answer 24/7. Fast dispatch from 7am to 7pm, Sunday through Friday. When the door won’t move, we move fast.
Frequently Asked Questions
Twice a year for lubrication and a full inspection, monthly for the safety tests, and every three months for a visual check of springs, cables, rollers, and the bottom seal. Buckhead’s humidity accelerates wear on cables and seals specifically, so those items deserve a slightly closer look than they’d get in drier climates. Call (866) 651-6880 if you’d rather have a specialist walk it once and tell you what’s due.
No. Torsion and extension springs are under extreme tension, and cables are under load from the moment they’re installed. These are the two components most likely to cause serious injury in the whole door system. If you see wear or damage, keep the door closed and call a trained technician.
A proper maintenance visit checks the door’s balance, tests the auto-reverse and photo-eye, inspects springs and cables for wear, lubricates hinges and rollers, checks the opener’s drive system, and looks at the seal and track alignment. It takes about an hour on most residential doors. The technician should also point out anything that’s near end-of-life so you’re not caught out.
A blinking photo-eye almost always means one of three things: a sensor out of alignment, a dirty lens, or a wiring issue. Clean both lenses first, then check that the sensors are directly facing each other. If the LED stays off or blinking, leave the door in the open position and call for a technician. A door that closes on a broken beam stop is one that hasn’t reached the floor yet.
We work on LiftMaster, Chamberlain, Genie, Clopay, Amarr, Wayne Dalton, Craftsman, and Raynor equipment. Knowing the brand saves diagnostic time and means we’re not guessing about parts. If you’re not sure what you have, tell us the brand on the motor housing when you call and we’ll take it from there.
Test the balance first: release the opener and lift the door by hand. If it’s very heavy, don’t force it – that points to spring or cable trouble. If it feels manageable and it still stops partway, the issue is usually in the opener’s travel limits or a sensor problem. Either way, don’t keep running the door while it’s struggling. Call (866) 651-6880 for a free estimate.
The Bottom Line
A garage door maintenance checklist is only useful if it’s ordered by consequence, matched to your local climate, and honest about what homeowners shouldn’t touch. Do the safety tests every month, inspect the wear parts every three months, lubricate twice a year, and use silicone on seals and rubber, not petroleum products. In Buckhead, watch cables and bottom seals more closely than the generic advice suggests, because summer humidity will find them first.
When in doubt, especially on springs and cables, call a specialist. Buckhead Garage Door Repair Pros is a garage door specialist, not a generalist, and we work on the brand you have. Call (866) 651-6880 for a free estimate. Estimates are free, the price is quoted before any work starts, and we answer 24/7. Fast dispatch from 7am to 7pm, Sunday through Friday. For a full replacement rather than a repair, our team handles garage door installation and will measure, quote, and schedule the job around you. The best maintenance is the one that catches a small wear sign before it becomes a genuine breakdown.
Written by the team at Buckhead Garage Door Repair Pros.